
View or Edit Client Node Settings
Many of the access permissions and settings in Distributed Marketing are defined at a Client Node level. From the Administration window, you can view and manage many of these settings.
To view or edit the settings for a Client Node:
-
From the User Details drop-down menu in the top-right corner of the screen, select Admin. The Administration window is displayed.
-
From the tool bar at the top of the Administration window, click Client Node. The Client Nodes screen is displayed. The menu along the left-hand side of the screen displays the Affiliates in your Client Hierarchy.
-
Expand the desired Affiliate. The platform displays all the Client Nodes in the selected Affiliate. Optionally, expand a Client Code to drill down to the next level (the platform supports a maximum of three levels of Client Codes).
-
Click the desired Client Node. The Client Node Details screen is displayed.
-
The Client Node settings are organized into different tabs available across the top of the Client Node Details screen. Select the desired tab, and make any necessary changes to the available settings. These tabs and their settings are described below in more detail.
-
When finished, click Save.
Main Setting Tab
The Main Setting tab contains the following options:
-
Code: The internal code for the currently selected Client Code.
-
Name: The display name for the currently selected Client Code.
-
Prompt for Send Proof: If enabled, the platform will display a prompt when the User clicks Finalize Request (see Finalizing a Mailing for more information). This prompt will ask the User if they want to send proofs, and if so, present a list of available Proofing Groups to use.
-
Disable Editing Sender Details: If enabled, the platform prohibits Users from editing sender details when building a Mailing.
Default Profile Tab
The Default Profile tab allows you to configure a variety of default options. The platform will automatically apply these default options to a Mailing created within the currently selected Client Node. The default profile encompasses the following options:
-
Sender Profile: From the drop-down menu, select the desired default Sender Profile.
-
Table: From the drop-down menu, select the desired default sending table.
-
From Address: From the drop-down menu, select the desired default From Address.
-
From Display Name: From the drop-down menu, select either:
-
Enter From Display Name: In the text field, enter the desired display name.
-
End User Details
-
-
Reply To: From the drop-down menu, select either:
-
Enter Reply To: In the text field, enter the desired reply to name.
-
End User Details
-
-
Folder: From the drop-down menu, select the desired Folder to save the Mailing.
-
Auto-Reply Handler: From the drop-down menu, select the desired default Auto-Reply Handler.
-
Forward Handler: From the drop-down menu, select the desired default Forward Handler.
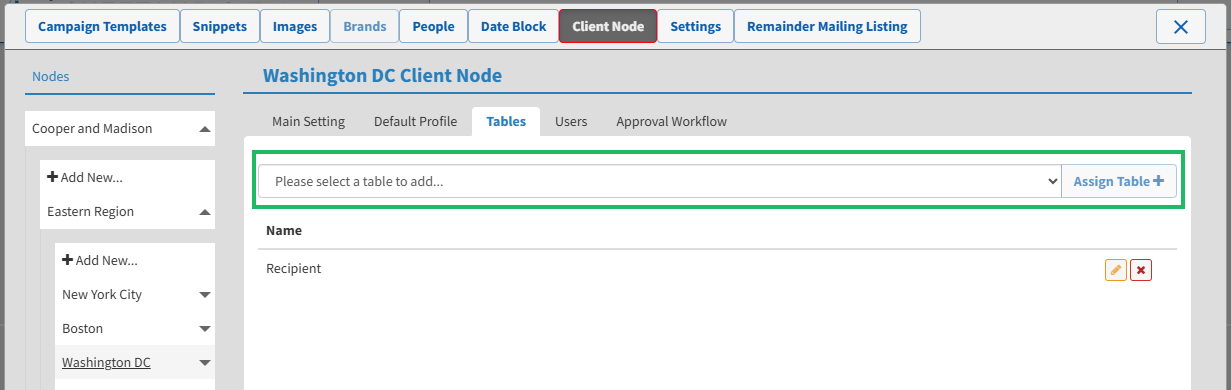
Tables Tab
The Tables tab allows you to select (or remove) the sending tables that are available for Mailings created within the currently selected Client Node. You can also view all the elements assigned to a selected table.
Assign a Table to a Client Node
To assign a table to this Client Code:
-
From the Select Table drop-down menu, select the desired table.
-
Click Assign Table. A confirmation dialog box is displayed; click OK.
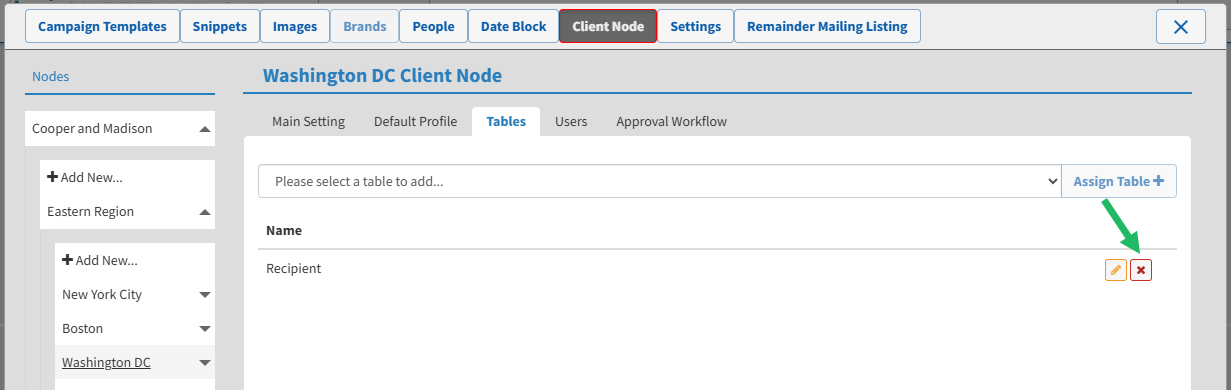
View or Edit Table Details
Within Distributed Marketing, a wide range of Mailing-related assets are associated with a sending table, such as Sender Profiles, Content Blocks, and Filters, for example. From the Tables tab, you can select which of the available objects are available for use in Distributed Marketing, for Mailings created with a specific sending table.
For some asset types, after you add them to Distributed Marketing, you can select the specific Client Nodes that have access to them. See Getting Started with Cheetah Digital by Zeta Settings for more information.
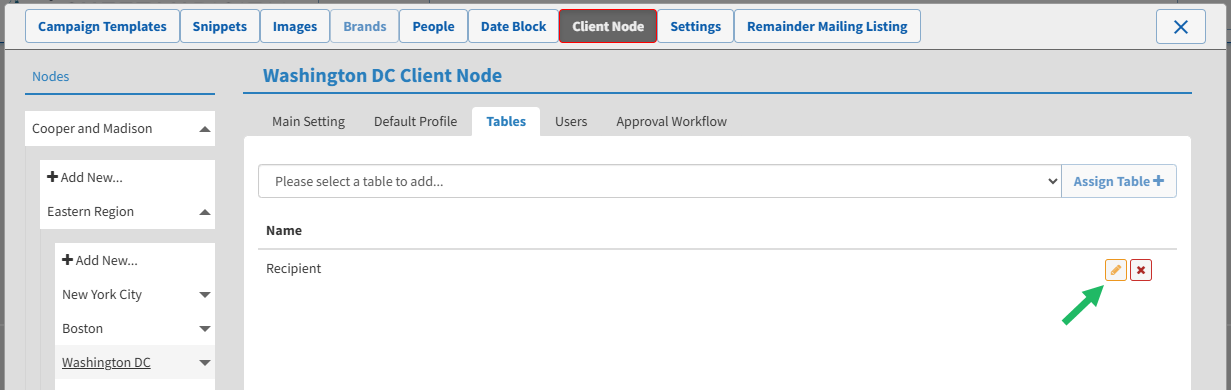
To view or edit the configuration details for a table assigned to this Client Node:
-
Within the list of previously assigned tables, next to the desired table, click the Edit icon.
-
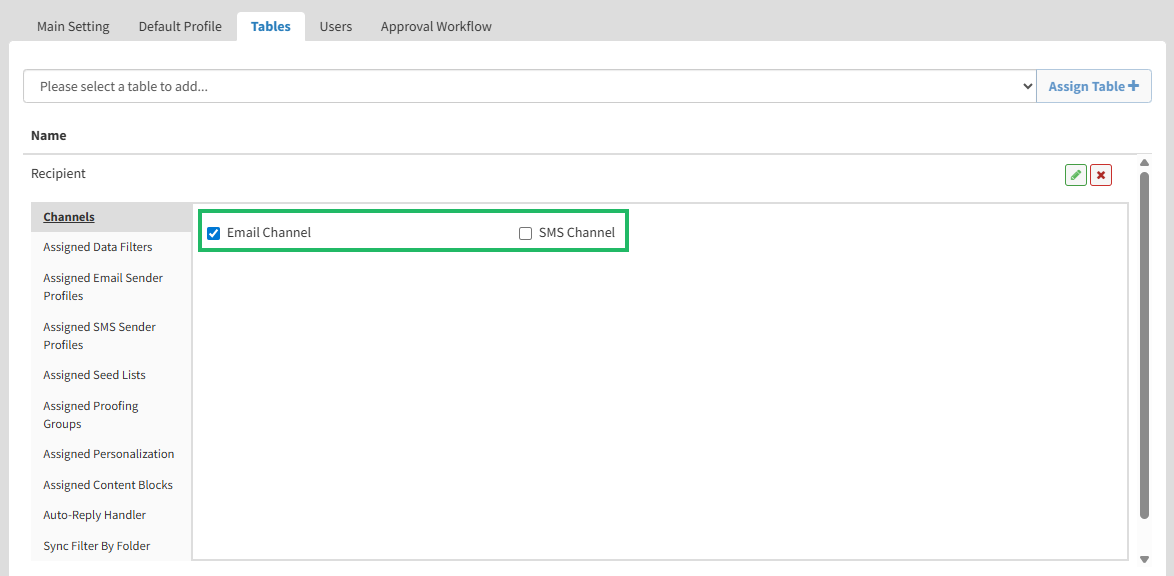
Using the check boxes, enable the desired channels for this Client Node (Email and / or SMS).
-
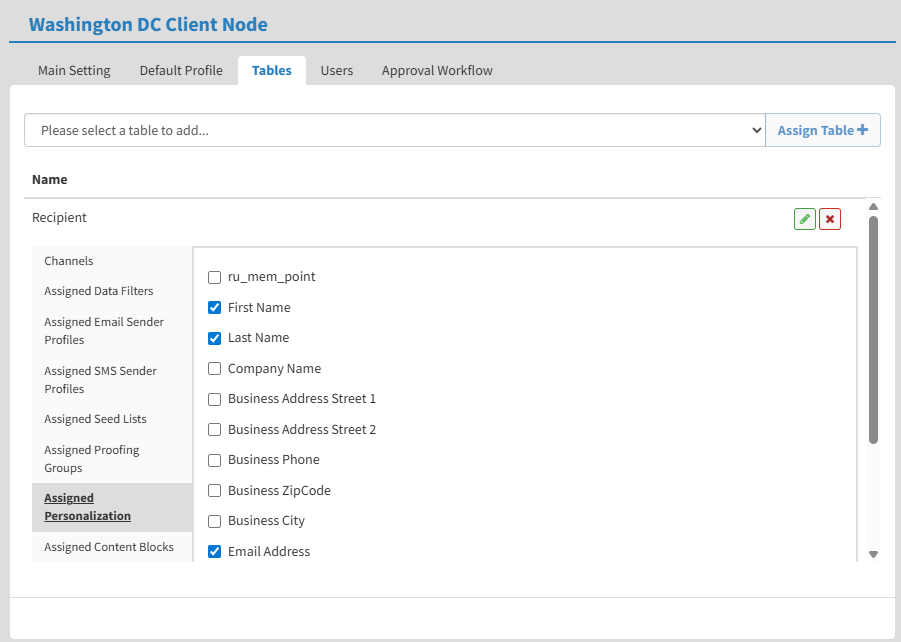
Along the left side of the Tables tab, the platform displays a list of various objects, such as "Proofing Groups" or "Content Blocks." Select one of these items.
-
The central area of the Tables tab is populated with all of the objects of that type that have been added to Distributed Marketing. Check the objects that you want to make available for use within the currently selected Client Node. Conversely, uncheck any objects that you want to remove from this Client Node.
-
Repeat the above steps as needed to add or remove other objects of a different type.
-
When finished, click the Edit icon again.
Remove a Table from a Client Node
To remove a table from a Client Node:
-
Within the list of previously assigned tables, next to the desired table, click the Remove icon. A confirmation dialog box is displayed; click Yes.
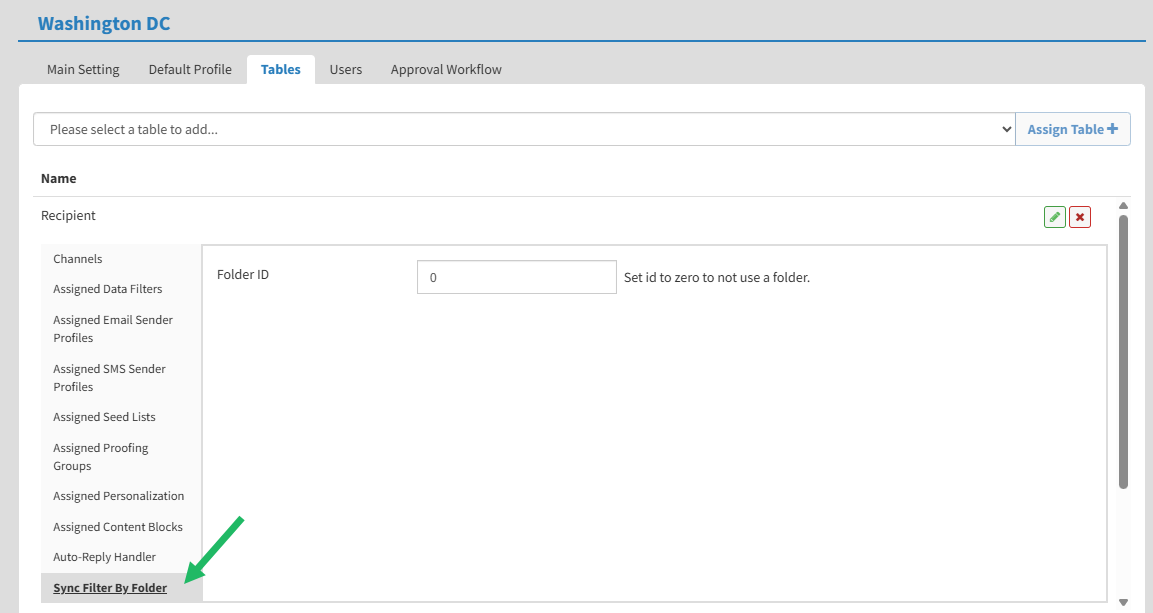
Synchronize Filters
As you create, edit, or delete Filters within Cheetah Digital by Zeta, the Distributed Marketing platform allows you to automatically synchronize those Filter changes, so you don't have to manually make the changes within Distributed Marketing. For example, let's say that you make a new Filter that you intend to use in Distributed Marketing. Instead of manually adding the Filter to Distributed Marketing using the process described above, the platform synchronization process can automatically identify that a new Filter has been created, and assign it to your Distributed Marketing account.
This synchronization process runs every six hours, and looks for changes within a single, specified Folder in Cheetah Digital by Zeta. Therefore, be sure that you store all Filters that you intend to use within Distributed Marketing in that Folder, so that the synchronization process will pick up the changes.
To specify the Folder where you want to store your Filters for use in Distributed Marketing:
-
Within the list of previously assigned tables, next to the desired table, click the Edit icon.
-
Along the left side of the Tables tab, select Sync Filter by Folder.
-
In the Folder ID field, enter the internal reference ID for the desired Folder.
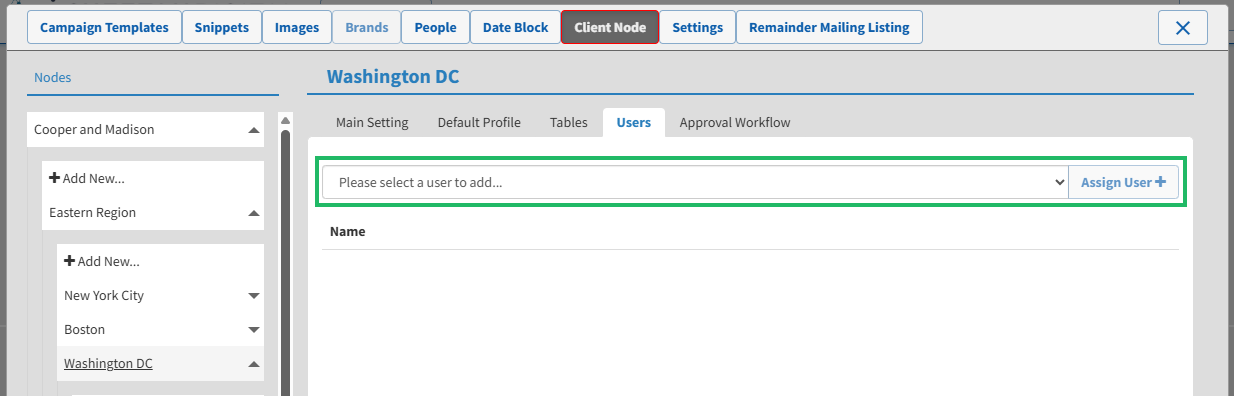
Users Tab
The Users tab allows you to add Users to, or remove Users from, the currently selected Client Node.
Assign a User to a Client Node
To assign a User to this Client Code:
-
From the Select User drop-down menu, search for and select the desired User.
-
Click Assign User. A confirmation dialog box is displayed; click OK.
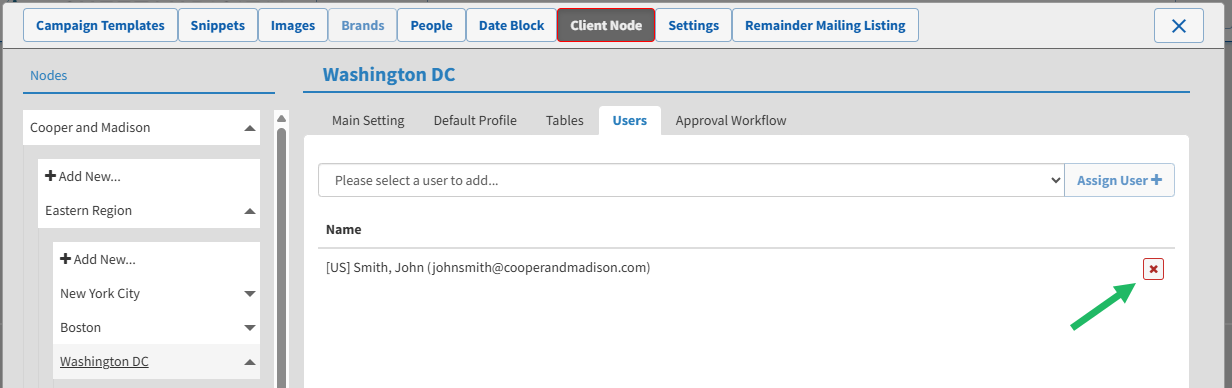
Remove a User from a Client Node
To remove a User from a Client Node, click the Remove icon next to the desired User. A confirmation dialog box is displayed; click Yes.
Approval Workflow Tab
Note: The Approval Workflow process is an optional feature that must be enabled within your account. For more information on this feature, see Approval Workflow.
Distributed Marketing supports a manual review / approval workflow process for Mailings. Within your Distributed Marketing account, this feature can be enabled at either a Template level or a Client Node level.
-
Template Level: If the Approval Workflow is enabled for a specific Template, all Mailings created with that Template must be reviewed by a designated approver (or multiple approvers) before the Mailing is submitted to the email deployment system. For more information, see Configure Approval Workflow for a Template.
-
Client Node Level: If the Approval Workflow is enabled for a specific Client Node, all Mailings created within that Client Node must be reviewed by a designated approver (or multiple approvers) before the Mailing is submitted to the email deployment system. See below for details on how to configure the Approval Workflow for a Client Node.
If the Approval Workflow feature has been enabled at a Client Code level in your account, the Approval Workflow tab of the Client Node Details screen allows you to configure this feature for the currently selected Client Node.
To configure the Approval Workflow settings for the currently selected Client Node:
-
Optionally, in the Number of Approvers Required field, enter the number of people that must approve a Mailing. Or, click Use Default Value to use the default number assigned for this Client Node. This default value is configured by your Zeta administrator.
-
The tab lists all the Users in your Distributed Marketing account who have been enabled as "approvers." Check one or more of these Users to assign them as approvers for this Client Node.
Note: The process of enabling a User to be an approver is handled by your Zeta administrator.
-
Optionally, in the Additional Approvers field, enter one or more additional email addresses for Users who can also serve as approvers. Multiple email addresses should be separated by commas.
